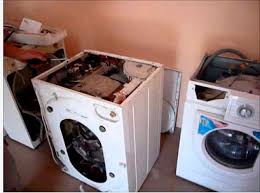
Almost all malfunctions of the washing machine can be repaired without assistance. If there is a need to get to the internal parts of household appliances and find out where the problems arose, you need to have knowledge on how to properly disassemble the “washer” and what kind of differences are there in disassembling a device with a vertical load, and which ones with a front-loading device. It is also important to know some structural features of washing machines from different manufacturers.

Dismantling the washer is a snap
Prepare also a basin to pour the water that has stagnated in the hoses, as well as several rags - floor and small rags to wipe the parts, as well as collect and pour the water.
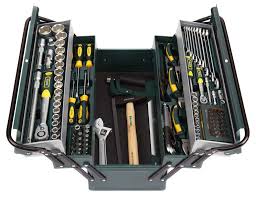
You need to prepare tools for work in advance
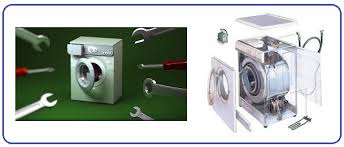
Washing machines of almost all manufacturers and models, including Ariston, Bosch, Indesite, and their other analogues have, in fact, one device diagram and parsing rules. The only difference may be in the location of some parts of the “washing machine”.
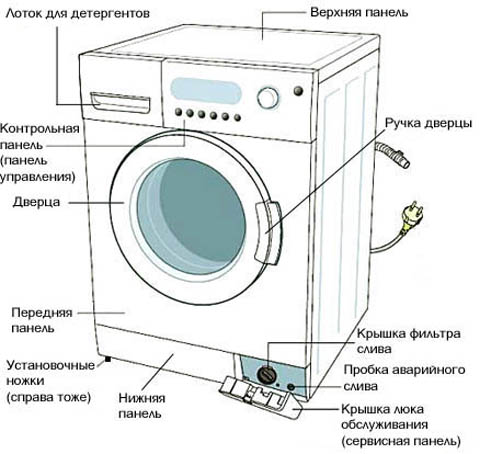
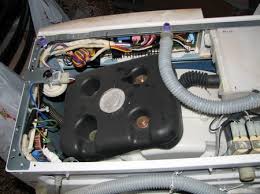
What is the device for washing: scheme
How to disassemble a washing machine with horizontal loading?
First of all, it is necessary to disconnect the washing machine. After that, the drainage hose is removed, the water injection is turned off by shutting off the tap to which the inlet hose is connected.
If you thoroughly know all the internal parts of the device and possible malfunctions, you can very accurately assume where the malfunction occurred and analyze from this part of the machine. This will eliminate the possibility of unnecessary work.
For instance:
- M The machine does not stretch things well enough, noise is heard during the spinning process, and after the drying procedure things remain wet - this indicates a malfunction in the pump, or in a different way in the pump, it may also be a clogged hose. To get to the problem area, it is better to start from the bottom or from the front panel.
- In the case when the washer cannot get the temperature set by the program, this is a clear sign of a heater failure. The location of this element can be found in the instructions. Basically, to get to the heater, you need to remove the back panel, and in more modern models - the front panel.
- If the water forces come very slowly, it means the pressostat or pump. According to the instructions, you can determine the place where the part. Basically, it is either a side panel or on top of the back.
- If you establish that a drum has occurred or the bearings are out of order, then you will have to disassemble the machine to the screw (in particular, you will need to disassemble the drum of the washing machine).
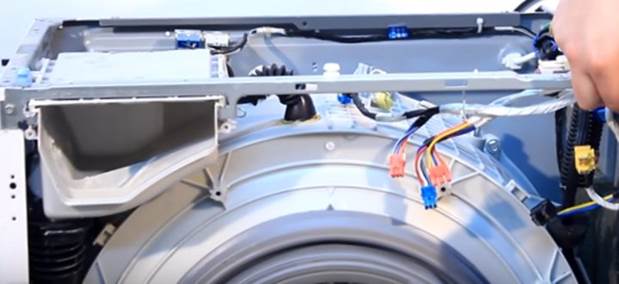
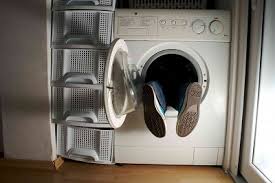
How to remove the back panel
Step-by-step instruction. Car parsing
- Top panel. It is secured by several screws screwed with a Phillips screwdriver, at the very top of the top of the rear panel. First you need to unscrew these screws, then slightly press on the cover in front, and then at the top.
- Dispenser for household chemicals (powder). To pull out this part, you need to find the plastic button in the center of this tray, press it, and then pull it toward you - this way this element will be pulled out.
- Removing the control panel. Only a few screws are used to secure this element of the washing machine.One is usually located immediately below the detergent containers, and the other is in the opposite place. It is a very fragile part, so proceed with caution. In order not to damage it, put it either on top of the machine, or hang it on a special hook.
- Removing the service panel This part is necessary for servicing and selecting small items that accidentally hit the washing machine. To remove this part of the washer is quite simple: you need to clamp two latches located on the side, and a third located in the middle. It is extremely rare that it can be attached to additional screws.
- Front panel To get started, you will need to carefully remove the rubber clamp, after loosening it. It is located on the loading hatch. Most often, it is attached using a small elastic spring. To remove it, the spring must first be pry off. Now the cuffs must be pulled in a circle (a screwdriver and pliers are useful here). If in the process the lid interferes with the parsing process, it can also be removed by unscrewing a couple of bolts, if it does not cause inconvenience, it is better to leave it in place. And now you need to find all the fixing parts on which the front panel is mounted. The electrical connector must be removed from the device blocking the hatch. Done - part removed.
- Rear panel. It is removed very simply, for this you only need to unscrew the screws around the perimeter. These screws can be quite a lot.
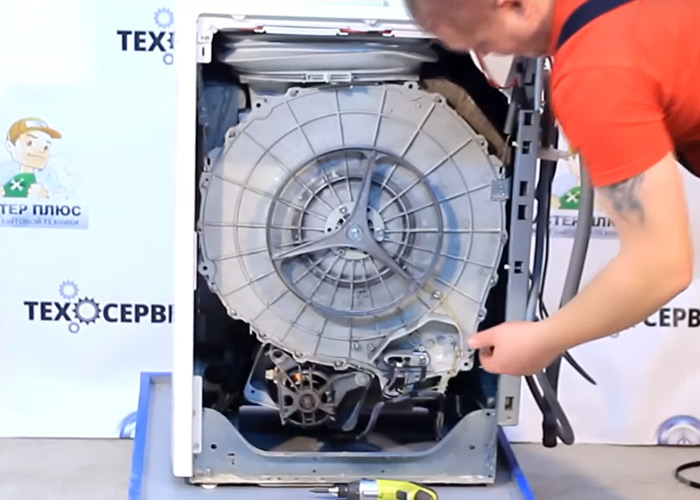
Methods for disassembling vertical load machines
Dismantled equipment
First of all, you need to disconnect the machine from the drain channel, the mains and shut off the water supply by turning the tap on inlet hose. Then the following steps follow:
- Use a screwdriver to gently pry off the upper control from all parts. Then this panel needs to be pulled up, and then to the back panel. After these steps, this part must be tilted at such an angle that it is possible to work with wires. In order not to confuse the prize for the assembly of the washing machine in the future, it is best to photograph the layout of the pipes and wires in advance. Having remembered the layout of parts, you can dismantle the connectors and wires. To unscrew the panel, it is necessary to twist the fasteners that are located on the printed circuit board.
- Side parts. In order to quickly remove the side panels directly, you need to unscrew all the screws, then deflect the lower part and pull it down.
- The front of. It is only dismantled after the side parts have been completely removed.
How to disassemble a brand-specific washer
- Samsung ”- in the models of this manufacturer, detergent containers are attached with 2 screws; The heater is located at the bottom of the tank, under the front cover;
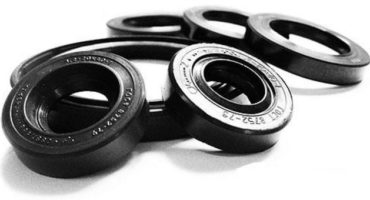
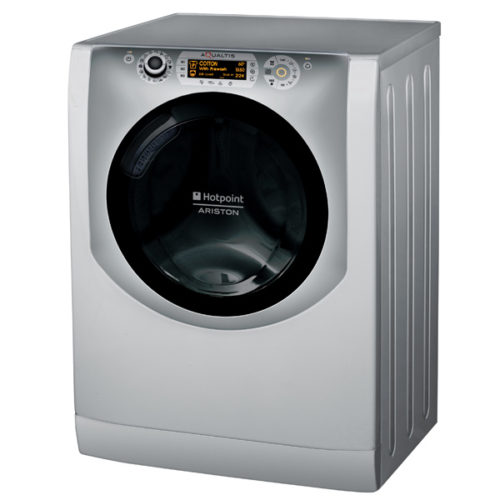
- Ariston "- most of all" washers "of this brand are seals and bearings that are declared by the manufacturer as unsuitable for repair, but an experienced specialist will help you solve this problem; the tank of such machines is solid, therefore, if necessary, change the seals, in case of malfunction, you will have to disassemble the tank of the washing machine;
- Atlant ”- here it is very comfortable to pull out the drum from above, after removing the counterweight part and removing the control panel from the upper side, and the tank conveniently consists of two parts fixed with bolts, which facilitates repair work;
It is important to consider the model
- Electrolux ”- from this manufacturer, the front panel is removable and helps to get to all parts of the device, in addition, the replacement and repair work of seals and bearings does not oblige to remove the tank completely, since these parts are located on removable elements;
- Indesite ”- the back wall is made in the shape of an oval, it is removed after six bolts are unscrewed, the top panel is inserted into special grooves, so you can dismantle it by unscrewing two bolts and then dragging the element onto yourself without lifting it, the heater is located directly under the tank ,therefore, it is easy to get to it through the rear panel, the weight load is located both at the top of the tank and at the bottom;
- Bosch ”- complete with a washing machine of this brand, a wrench is provided to disassemble the machine and secure the transportation bolts. In the bottom panel there is also a drain pump (bottom left).
Repair work after parsing the machine
In order to understand what exactly merged and where the malfunction occurred, one can resort to the error skins that are displayed on the displays of almost all models of washing machines (in particular, LG, Indesite and others). If such prompts are not indicated on the display, then you will have to determine the cause of the malfunction by “symptoms”, an external examination of the details and some nuances.
Timely diagnosis plays an important role.
So, to identify the malfunction of the bearings at the tank, need to open the doorleading to the hatch and slightly raise the drum. If a serious loft is noticeable, the bearings must be replaced or repaired.
The need to replace the heater
Replacing the heater involves the following steps:
- If there is no heating of the water, then the heater has become unusable and must be replaced. It is necessary to choose the necessary model, find the scheme of your particular brand of car in order to clarify whether this part is located in front or behind. Mostly to you need to remove the back cover.
- The end face of the heating element along with the terminals will be visible under the tank. Their location should be photographed or schematically depicted on paper.
- When the location is full, the wires and terminals can be disconnected and loosen the screw in the middle. Then, using a screwdriver, you need to hook the heater by its edge and pull it in different directions to pull it out.
- At the landing site you need to clean up, clean it.
- Then you need to install a new heater, tighten the screw and connect everything according to the scheme, as it was.
Replacing defective parts will extend service life.
Washing machine assembly
If you photographed in advance in what sequence and how exactly the equipment was disassembled, then assembling it again will not be difficult.
Before putting on the front seat of the cuff securing the hatch, be sure to clear the landing area from debris and dirt.
Assembly of the washing machine after repair
If it is not possible to screw the retainer spring back, try securing it with the wire on top and pull it counterclockwise.
Disassemble the device really yourself
Thus, disassembling, cleaning or repairing the washing machine is a completely solvable thing, the main thing is to do everything carefully and observing all stages of disassembly and assembly in the proper order.