It happens at the right time the washing machine does not turn on or stops working correctly. This causes a lot of inconvenience to the user and drives into a stupor. Do not be afraid of such situations, because in our time, dealing with damage is not a problem at all. Some breakdowns and malfunctions can be repaired with your own hands, but there are some that you should contact the master. All the nuances and details of working with a washing machine will be described in this article.
Some common problems will be described in two situations below. Very often people panic in vain, and to prevent wasting your time, you should read the common problems.
When the washing machine does not respond to inclusion.
The usual behavior of the machine is accompanied by some sounds and the lighting of a large number of light bulbs. It happens that the machine has finished washing, things are clean, but the next day refuses to work again as usual, why does the washing machine no longer start?
Electricity
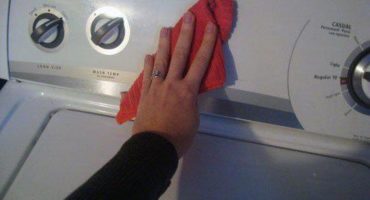
An experienced craftsman will always start with a simple. The apartment may not have electricity. Checking other appliances and outlets will not hurt. It could also knock out a gun. If liquid gets into the outlet or other network problems, a short circuit often occurs. After that, the machine knocks out. To check, you need to look at the counter responsible for the room in which the machine is located. The main thing is that it should not be turned off. If this is the case, turn on and check the status of your appliance, and if it is knocked out again, then you need to find the cause of the circuit.
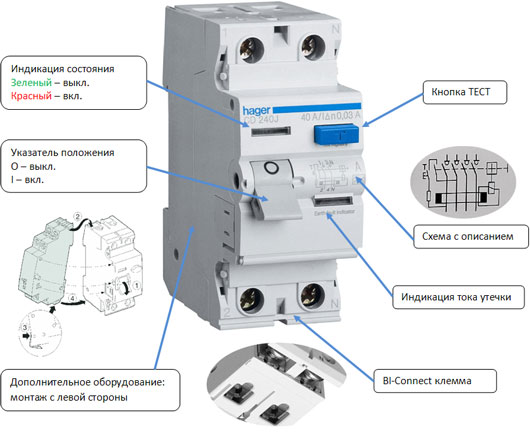
RCD
If installed, the reason may be in it. The system could work and turn off the power supply. There are several possible options:
- RCD worked incorrectly (This happens with not very high-quality models)
- Leakage of electricity (May fall on the chassis and electric shock)
- Wiring is poorly made or made of poor materials
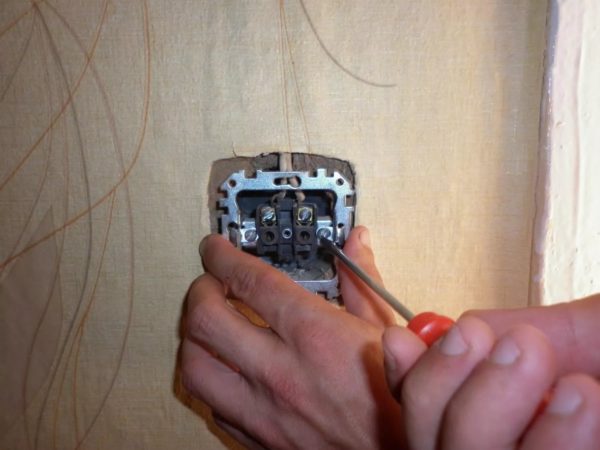
Socket
Of course, the problem may be hidden in the outlet, in case of contact failure. The first thing to do to test the outlet is to connect a working electrical appliance. If it works normally, then there are violations in the washing machine itself. The indicator screwdriver will serve as an excellent tool for checking the desired outlet.
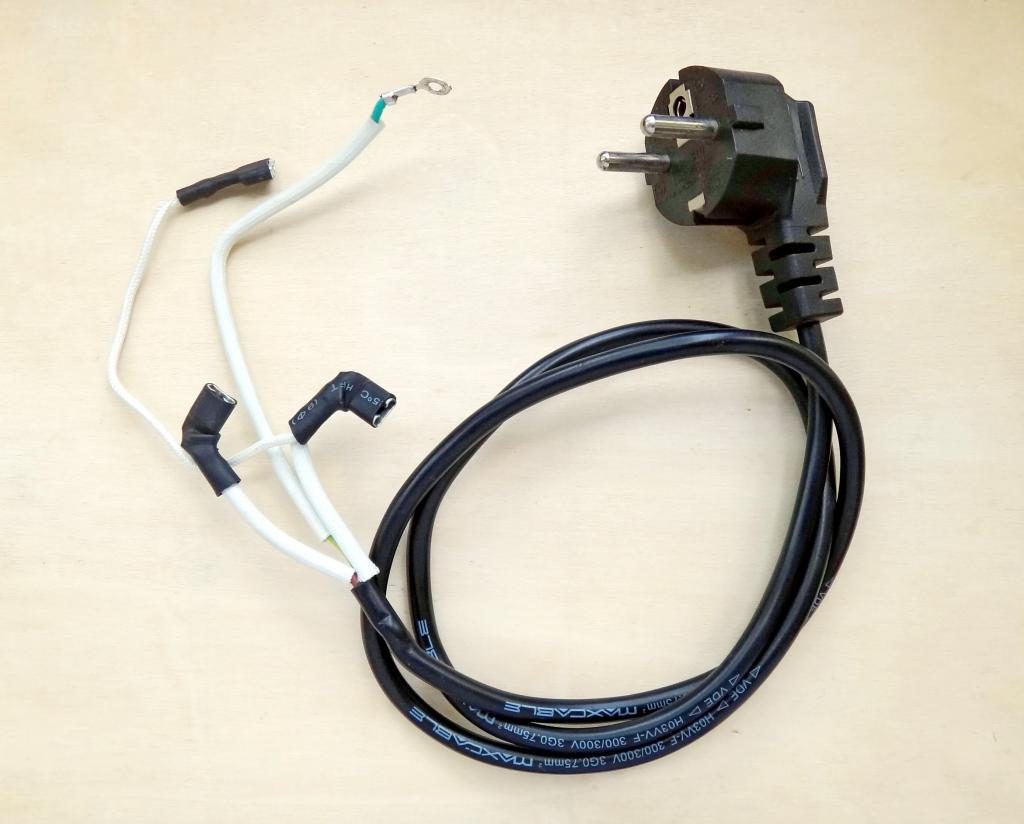
Power cord
The next thing you need to do is check the power cord, how tightly it is connected. This may be the reason that the washing machine does not turn on. Since the network wire is located on the outside, it can be subjected to various mechanical damage, such as overlapping, pressing, tension. Carefully look at it and think if the machine was on the cord, if there was too much bending, because because of such situations, the wire is damaged and breaks. For verification, it is advisable to use a multimeter - this is an electrical measuring device, also called a tester. The device must be put into the ringing mode, then the wire should ring in such a way that each part of the wire is checked. The wire stopped ringing, then this place is damaged. If no breakdown is found, then the resistance should also be measured. Starts to show 1 or 0 - it means this part is burned out. The operability of this device is very important, because in such a case accuracy plays an important role, and not everyone wants to pay for an extra wire. It is recommended to change the wire, but this is not always possible.Therefore, in the "extreme" case, the use of tape, hands and ingenuity will not hurt. The action plan will be as follows: find the place of damage, twist all the fragments of the cord and stick tightly out of the tape (If possible, solder)
It is necessary to point out that in many washing machines the network wire and FPS (explained by the next paragraph) are located together, therefore, to check these elements, you need to remove both. They are removed as follows:
- First you need to disconnect the drain hose, then the inlet hose, and then the power cord from the outlet.
- If the machine is in an uncomfortable position for a person, you need to deploy it with the back.
- Each screw is unscrewed (do not forget to put them in one place).
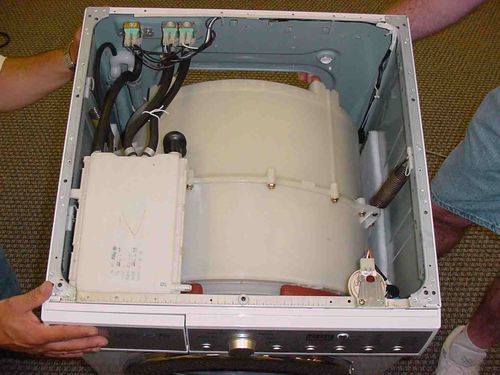
- Top cover removed
- Under the cover, the internal parts of the machine are opened for viewing, but you need to remove the capacitor located in the left corner, in the upper half of the case, from the mount.
- Then the network wire is removed from the mount, and it is closer to the base of the case. Do not forget to remove the mount itself.
- FPS and the wire can be safely pulled out of the machine.
Top cover
Top cover.
FPS problems
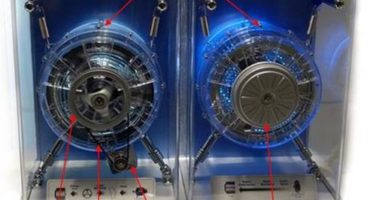
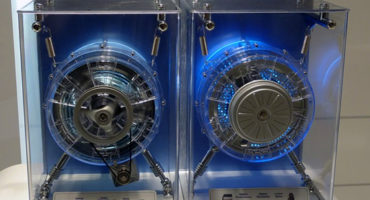
The next important part is the FPS. Earlier in the article, it was already mentioned how to get it, and then the performance check and the purpose of this part will be described. The purpose of the interference filter is that it interacts with other processes in the machine, thereby attenuating electromagnetic waves. The main goal is the filtering of radio frequency interference during the operation of the washing machine. As practice shows, the most convenient way to filter the noise on the network terminals. Due to the normal operation of the FPS, other electrical appliances such as a TV and computer do not receive interference during the washing process. The interference filter may break during prolonged use without replacement, or because of a short circuit. After pulling out the filter, you need to check it with a tester, in the same way as before, ringing the wire. At the input of the filter you can see three wires: Earth, phase and zero. Output: zero and phase. It is necessary to examine if voltage appears at the input, but it is no longer at the output, then the problem is definitely in the interference filter. Buying it is not a problem, but a replacement is required.
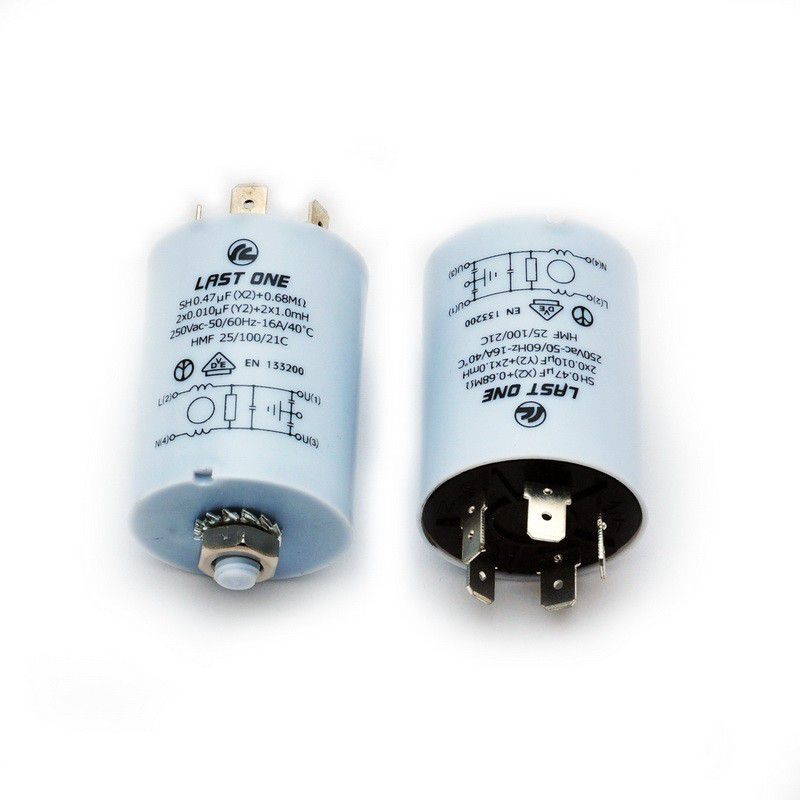
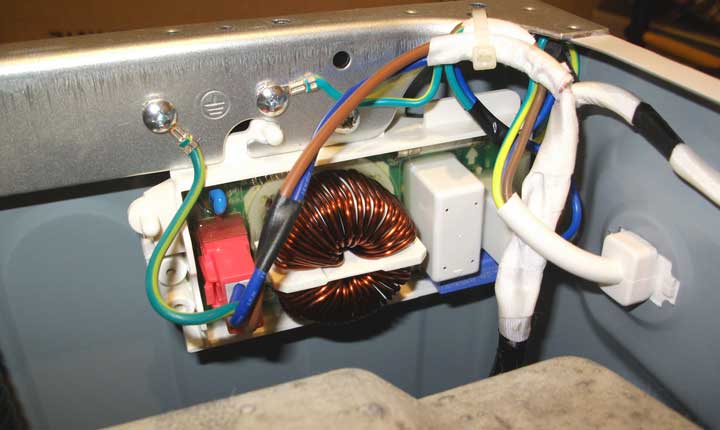
FPS.
Power button
Several important parts have already been checked, and the next step is checking the button. When the machine is used every day for years, it is clear that problems can begin with it, because the mechanism will not work without replacing parts. Burning the power button may be one of them. Some washing machines have special protective devices to keep the buttons and switches on the front panel dry. But if the car is old and worn out, it can be assumed that the contacts have oxidized, and the button has stopped responding to pressing, this happens with many LG and Indesit models.
The machine cover has already been removed, so you can start to remove the button for further verification. This is not difficult, just a couple of simple steps:
- Dismantling begins with removal of wires, directly from the case
- Next, a flat screwdriver will help you. Use it to pry the latch assembly.
- Remove button.
An already familiar procedure, it is also used to check the start button. Immediately after separating the button from the case, you should start ringing it, and then check the resistance. You will have to change the button if it does not have the correct resistance, or not ring, all this indicates its malfunction. Do not rush to run to the store for a new button, because experienced masters advise you first to clean the contacts, and then try to start the procedure again, there is always a chance that it will work again. It’s better to change and forget about the problem for a long time, because cleaning contacts is a temporary delay of a problem that needs to be solved.
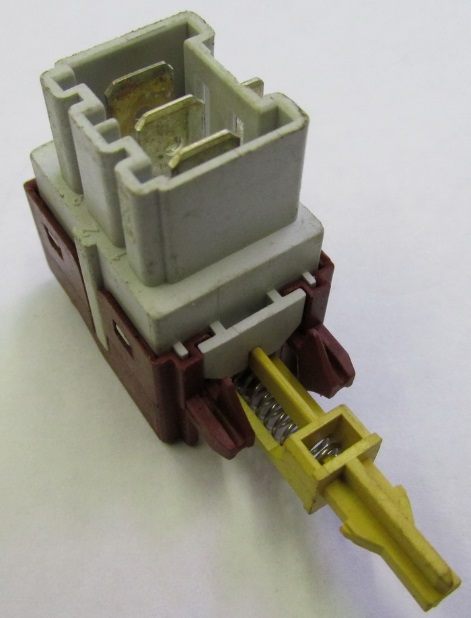
Button.
Varistor or control chip
This article approaches the final points of testing parts of this indispensable device.Here you can find the latest reasons why the washing machine does not start. It is because of the voltage drop that your car may not turn on without responding to any pressures and actions.
Most of the details are almost impossible to subordinate to a person unfamiliar in detail with the repair of washing machines. This breakdown can be fixed at home, even though the microcircuit looks very specific. It is the varistor that lends itself to home verification and replacement. Actions will look like this:
- Get a powder cuvette. Next you will see the screws that need to be unscrewed. Then there will be a few more screws.
- After you unscrew the following screws that hold the control panel, you must remove this panel.
- Disassemble the unit and take the control chip.
- Next, you need to find the varistors and start testing the resistance tester of the parts. (If the varistor burns out - it will be black and noticeable)
- After the necessary part is found, it is necessary to unsolder it and remove it.
- There are many similar parts on sale. Buy and gently solder it.

Varistor.
The washing program does not start, although the indicator lights work in standard mode
There are also situations where it seems that the machine is in perfect order, but the problem is shown later, when, for example, a completely different light blinks. Things are loaded, the program is set, the powder is filled up, the desired light flashes, but the machine refuses to work. The hatch must be tightly closed, so check its condition, because when the closure is not tight enough, the machine automatically limits the access of water to the drum. It is also required to check whether the door is energized. If not, you need to change the locking device.