A large number of various spare parts can be extracted from faulty devices, which can be used not only for repairing other devices, but also for the independent manufacture of original products. One of such home-made homemade products is spot welding, which is very easy to make from unnecessary microwave ovens.
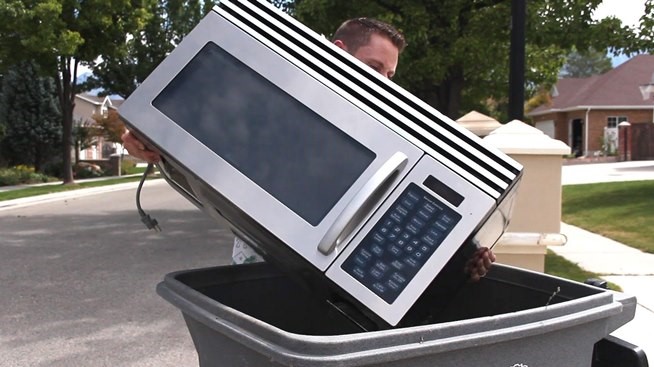
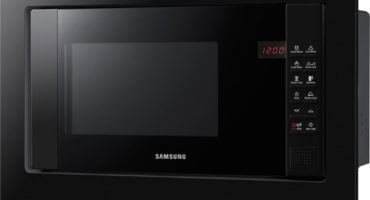
Do not throw away your old microwave
How to independently make a spotter from an old microwave will be described in detail in this article.
DIY microwave spotter: transformer assembly
A microwave oven can be used for the manufacture of a welding machine only if its high-voltage transformer is in working condition. For self-made spot welding, you will need to remove this part from the household appliance. To dismantle a high voltage converter:
- Remove the back cover by first unscrewing a few screws;
- Disconnect the terminals from the power transformer;
- Unscrew the screws securing the transformer;
- Extract part.
Now from the step-up transformer, you can make a step-down, which will be used in the design of home-made spot welding. For such an alteration, first of all, the secondary high-voltage winding should be carefully dismantled. The following tools are required for this purpose:
- Hacksaw for metal;
- Hammer;
- Hairpin;
- Pliers;
- Electric drill;
- Drill for metal.
The dismantling of the secondary winding is carried out in the following sequence:
- Secure the transformer in a vice so as not to damage the primary winding;
- A hacksaw cuts the secondary winding from two sides.
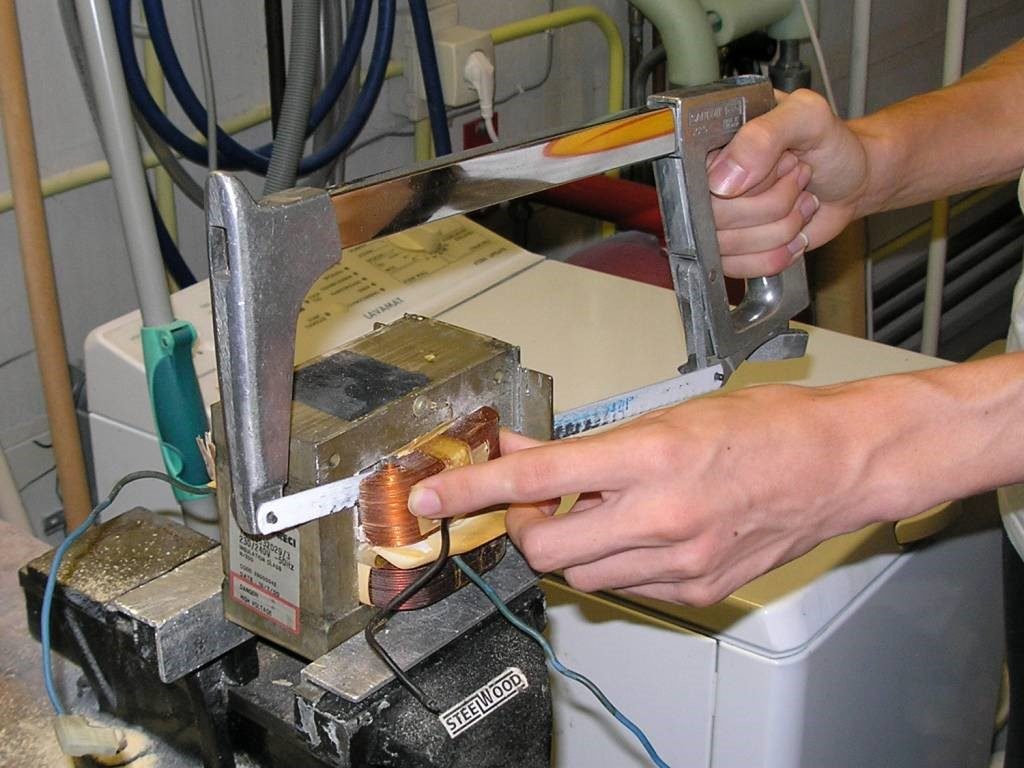
Removing the secondary winding of a high voltage transformer
- Drill to drill the wires of the secondary winding remaining in the transformer case;
- Using a hairpin and hammer, knock out the remains of the copper wire.
When the high-voltage winding is completely removed, it is necessary to correctly wind the wire for the lowering winding. The diameter of the copper wire for the secondary winding must be at least 16 mm. If there is no conductor of suitable diameter, then several wires bundled can be used.
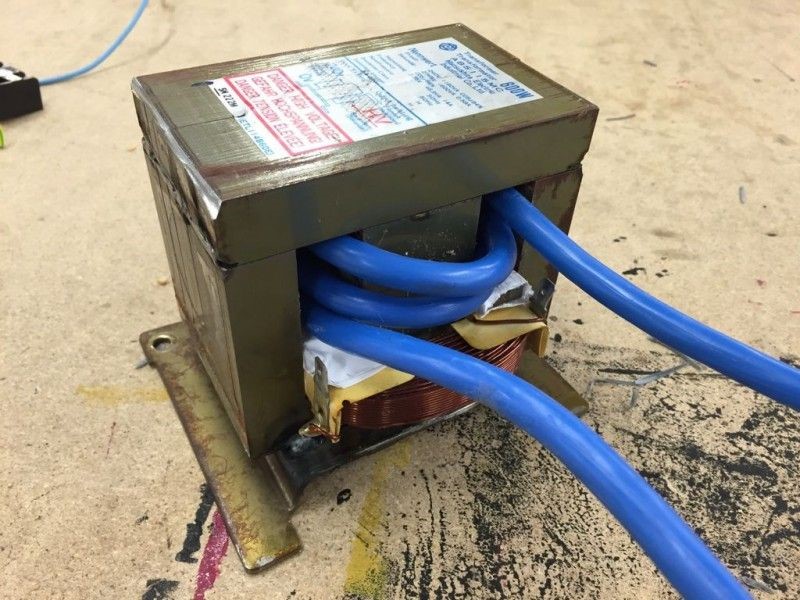
Spot welding transformer
With this embodiment of the manufacture of the winding, conductive conductors should be selected in such a way that the sum of the diameters of all copper conductors is at least 16 mm. For the secondary winding it will be enough to wind 2 - 3 turns to get a current of high enough power.
The turns should be located as close to each other as possible.
On this assembly of the transformer can be considered completed.
Electrode Making
Spot welding from an old microwave will only work efficiently using high-quality electrodes. You can independently make electrodes from a copper rod. The connection of the electrodes with the contact wire is carried out through the tip, which should be qualitatively soldered to the copper conductor.
The working side of the electrode should be sharpened in the form of a cone to obtain a better welded joint.
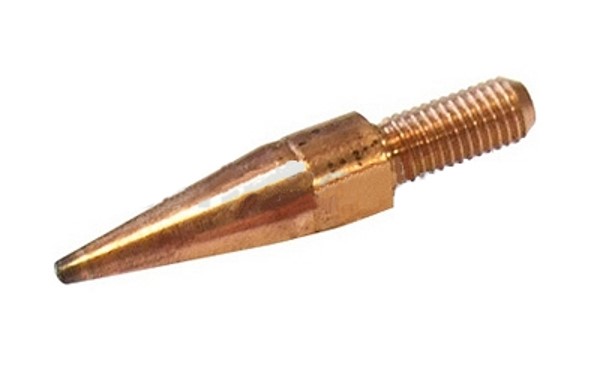
Spot welding electrode
If there is no desire to independently manufacture electrodes, then you can buy ready-made ones, but the cost of factory products will be at least 500 rubles for 1 pc.
Making controls
In order for spot welding to be simple and convenient to control, it is necessary to make the device body, with which it will be possible to easily weld metals.
The first thing to do is fix the transformer. For this purpose, you can use a thick plywood sheet, in which holes are made with a drill for mounting the transformer. The control of the spot welding process can be carried out as on an external device, when the transformer is located separately from the housing and from it voltage is applied to the contacts of the clamps via wires. Such a device will allow welding to be performed in hard-to-reach places and at large-sized objects.
A significant drawback of the remote apparatus is the need to use a sufficiently long cable, when passing through which the electric current will be significantly reduced due to the heating of the conductor at the time of metal welding. Also, the inability of the remote device includes the inability to use pincers with a long lever, so the contact force will be insignificant, which cannot but affect the quality of welding.
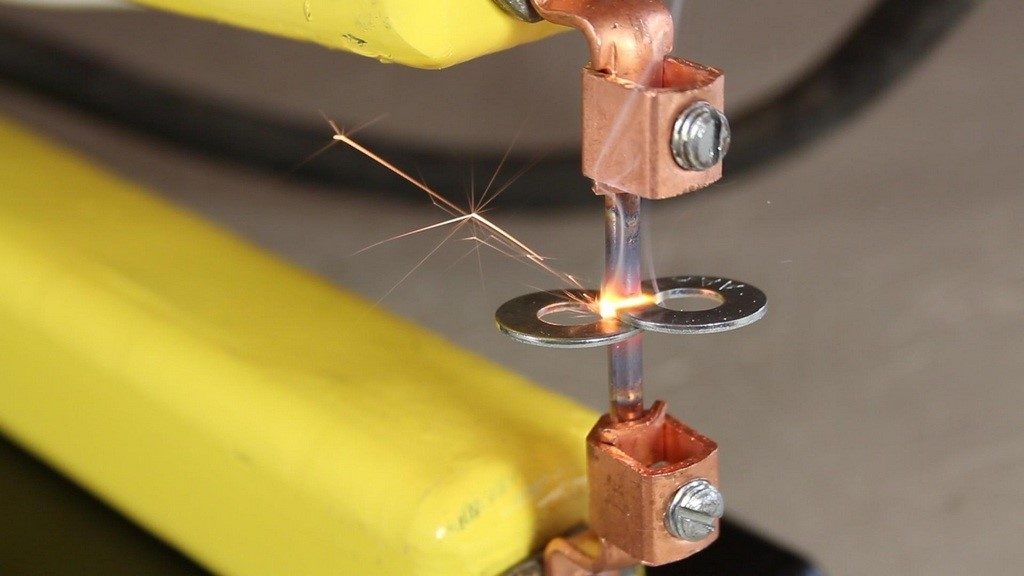
Pincers can be made independently with an inverter welding machine. To make pincers, you will need to find 2 large washers-gaskets with a thickness of at least 8 mm and a diameter of 50 mm. In the absence of suitable parts, they can be independently manufactured on a lathe. If the washers are made by hand, then in the middle of each of them you will need to make a hole with a diameter of 20 mm.
The next step in the independent manufacture of ticks is the cutting out of a thick ebonite rod of insulation.
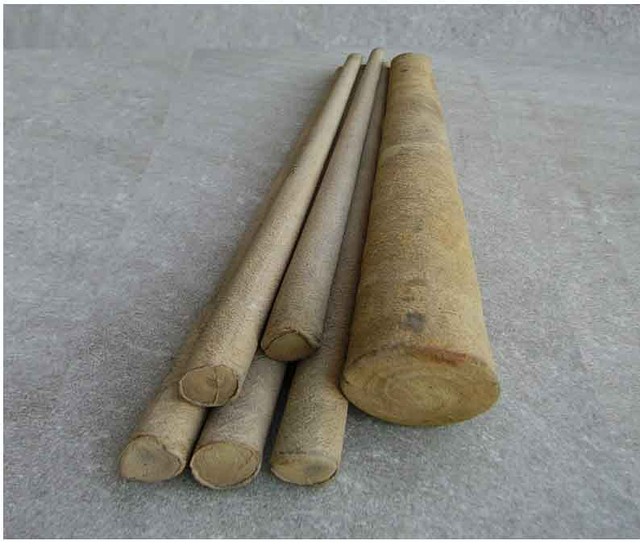
Hard rubber rods
It is desirable to select the rod in such a way that its diameter matches the outer diameter of the metal washers. The middle insulation is made as follows.
- A piece 30 mm long is cut from an ebonite rod.
- The ebonite washer is firmly fixed in the drilling machine and a through hole with a diameter of 8 mm is made exactly in the middle.
- On a lathe, material is removed on both sides of the ebonite washer to a diameter of 20 mm. Material should be removed at a distance equal to the thickness of the metal washer.
Thus, a reliable insulator will be obtained that will not allow a short circuit between the clamp levers.
At the next stage of manufacturing homemade pincers, they are welded to metal washers, on one side handles about 40 cm long, and on the other, the contact part of the device, to which a power cable and an electrode clamp will be attached. The handles and the contact part of the device can be made of a metal bar, which should be straight from the operator’s side, and L-shaped from the contact part. The bending of the pincers from the side of the working part is necessary so that the contact of the contacts is made only at the place of welding of the parts. After welding, the metal washers to which the handles and contact parts were welded are cleaned with a file or emery so that after assembly of the mites, the parts slide freely along the ebonite insulation.
Assembling homemade ticks is as follows:
- A metal washer is put on a bolt 50 mm long and 8 mm in diameter, then a washer of any insulating material with an external diameter of at least 30 mm.
- One half of the ticks is installed.
- A separating ebonite insulator is installed.
- The second half of the ticks is installed.
- An insulating washer is placed, then a metal washer, after which the M8 nut is screwed.
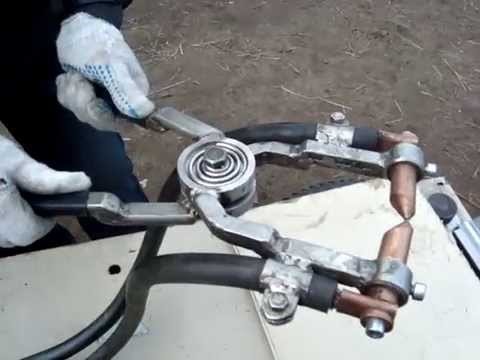
Homemade Mites
In addition to a significant loss of power on the conductor, when using pincers, it is not always possible to reduce the contacts with the necessary force. This drawback is especially noted in the resistance welding of metal parts with a thickness of 0.5 mm or more.To ensure sufficient effort, do-it-yourself contact welding from an old microwave is made in the form of a stationary machine.
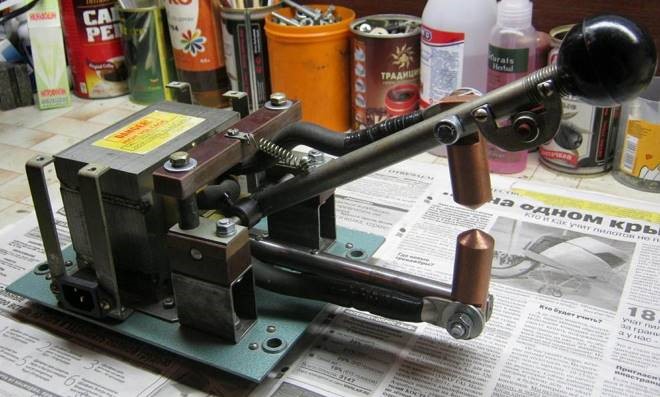
Stationary welding machine
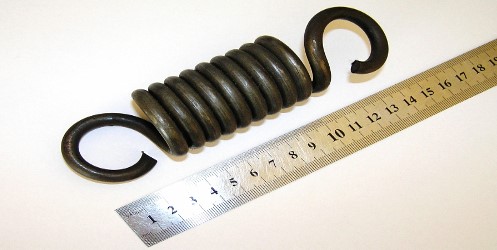
Lever spring
All the main parts of this type of contact welding are made according to the principle described above, but with the only difference being that the working part is moved only in a vertical plane, and the contacts, due to the presence of a longer lever, close under a much greater force.
In a stationary device, only the upper arm is made movable, which, as in the manufacture of ticks, must be reliably isolated from the main body using an ebonite insert.
The use of a single lever greatly simplifies the control of the welding machine, and also allows the manufacture of a mechanism that automatically turns on the device when the lever is moved down.
You will also need to equip the lever with a spring, which will return the upper contact immediately after the cessation of pressure.
There is no need to equip the stationary structure with “scissor” type levers, therefore it is enough to make one movable upper lever, on which a clamp for connecting the wire from the transformer and an electrode fixing mechanism will be installed.
The lower part is made in the form of a fixed platform with an upwardly extending element, on which the power cable and lower working electrode are also fixed.
Home-made spot welding
The advantage of a stationary device is that this device easily welds metal up to 1 mm thick. Higher power is achieved due to the fact that the transformer is installed
on the same platform with the working part. This arrangement minimizes the loss of electric current through the use of a shorter cable between the secondary winding and the electrodes.
Conclusion
Spotter from the microwave can be done independently, which will save at least 10 000 rubles.
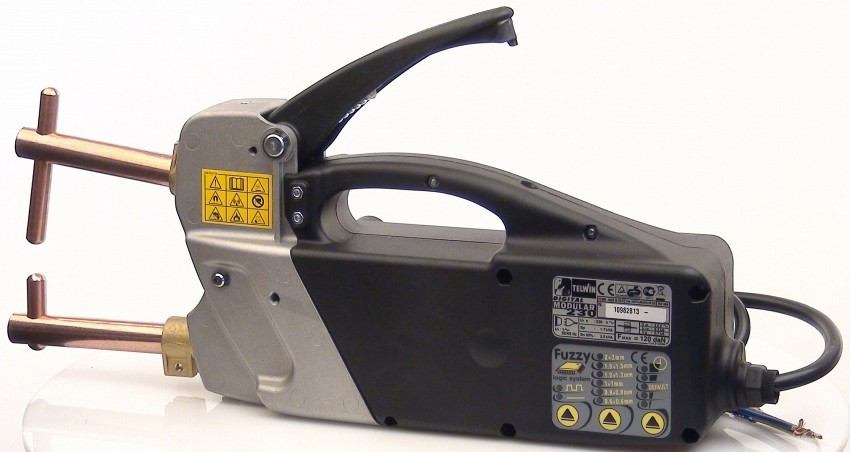
Factory apparatus
The electrodes are also made independently, so it’s enough to have microwave transformerto get an efficient and safe to use metal spot welding machine.