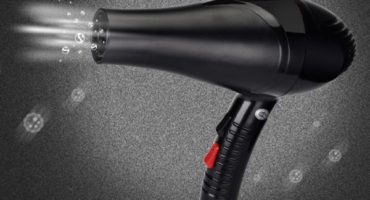
The appearance of absolutely any girl forms her hairstyle. An indispensable help for styling hair is an ordinary hair dryer. Today, there are many different models that have different operating principles. Professional hairdryers are used in beauty salons, at home you can use a standard hairdryer, and if you are going somewhere, a compact size hairdryer is suitable for this.
But what if the hair dryer does not turn on or is completely broken?
Disassembling a hair dryer is a fairly easy procedure. Most of the breakdowns are mechanical and it is not difficult to notice them. Let's consider how to repair a hair dryer using the examples of such models as Rowenta, Philips, Ionic, Remington and others.
How to disassemble and repair a hair dryer on the example of various models
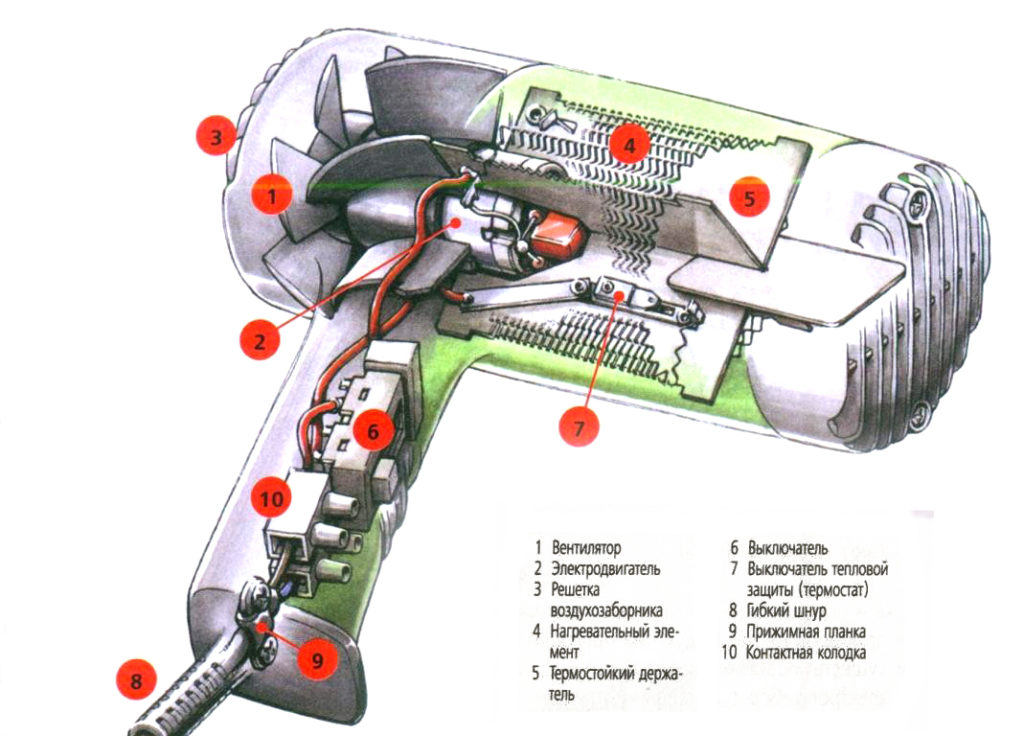
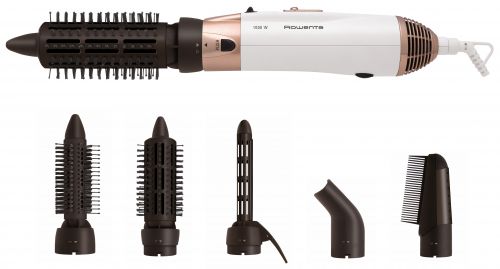
Any Roventa hair dryer has basic components in its construction. Without them, he would not perform his functions. The design includes units and parts that help to dry hair of absolutely any length. And models that have the ION badge make it possible to carry out the best hair styling.
Although each model has its own switches, the appearance, however, they act the same regardless of this. According to experts, the most complex part of the device is a thyristor, therefore, you can make repairs yourself without problems.
Disassembly algorithm
Repair must begin with an ordinary inspection of the device, that is, the diagnosis. Algorithm:
- It all starts with the outlet. Look: are there any burned contacts or are they loose. If you notice any malfunctions, it is necessary to carry out a cleaning or a tightening. Check that the plug makes contact with some force.
- Next is the power wire. Diagnostics must be carried out at the place where it enters the handle of the device. Here you can find the contact block. From it to the plug itself, an inspection should be carried out for damage to the insulation or breaks.
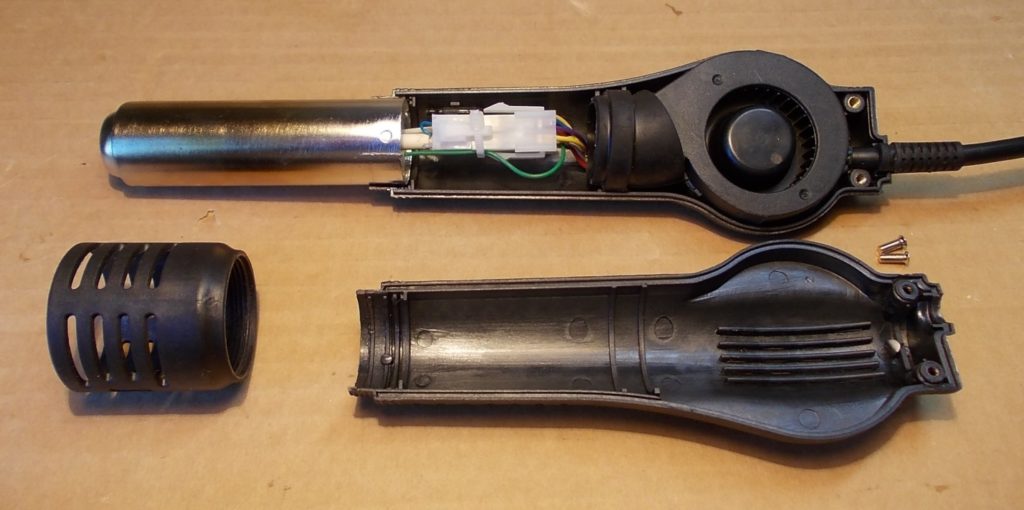
- Most often, the dismantling of this device begins with the dismantling of the housing. The body structure is made of two halves, connected by screws, and in front of the nozzle - with specially designed latches. Disassembly must be done carefully, as these latches can be broken. There are also screws that are hidden by stickers, plastic inserts and removable covers.
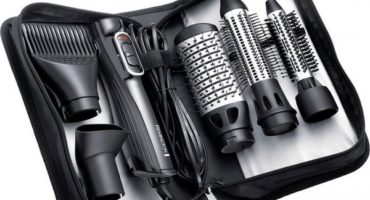
Important! Almost all models of the Rovent have the same appearance, their disassembly is carried out in the same way as a standard hair dryer. However, the hair dryer comb is dismantled a little differently due to some design features.
Therefore, before disassembling, be sure to read the instructions.
- Fan. In front of this element are a protective grille and a filter, which are obstacles for hair from getting inside the hair dryer. Very often this protective grill can clog up with hair, so it needs to be cleaned. Cleaning is carried out using a small brush.
- Electric motor If this element does not function correctly, then the entire device will junk. The reasons for the incorrect operation of the electric motor can be: breakdown of the winding or burnout of the diode bridge. After dismantling, lubricate the rubbing components of the electric motor. It is also important to tighten problem areas, this can be done manually.
- Spiral. In the presence of almost all models, there are several spirals that help to carry out the work of various heating air modes. They can be restored by soldering.Defects can be noticed immediately without any problems. In some cases, it is possible to replace the spiral components made of nichrome filaments. They also have similar characteristics.
- Microcircuits. There are types of malfunctions. For example, a base made of getinax may crack. In this case, the tin track breaks. Areas that are damaged can be tinned, and then you need to perform a coating using solder. Another problem is the bloating of capacitors. You just need to install new capacitors. There is also the possibility of a malfunction of the resistors. They become dark. It is important to simply replace them.
Attention! To repair the hair dryer, it is important to be able to use a soldering iron. If you do not have such skills, it is best to contact specialists who will repair the hairdryer without any problems. If you still decide DIY hair dryer repairCheck out our article.
Repairing devices from Rowenta, Philips, Ionic, Remington, Dewal and others has its own difficulties, especially for those who are not enlightened in this. Since they have smooth regulators, spirals are made of specially designed alloys. If you need to connect them, then you are unlikely to succeed in doing this reliably.
Before dismantling this unit, you must find the electrical circuit of the device. If the instructions could not be found, then you can consult a specialist. Remember the simple truth - to disassemble any device is not difficult, it is much more difficult to reassemble everything.
Consideration of a problem
To disassemble and repair the hair dryer, you must use a Phillips screwdriver, a clerical knife, and a soldering iron itself.
Assume that the appliance turns off during drying, but if you pull the cord, then it starts to work periodically. Therefore, the problem is that the wire is broken. We need to determine the place where the wire is broken. Using a Phillips screwdriver, unscrew the screws in order to disassemble the case.
Then you need to get the board and remove the wires.
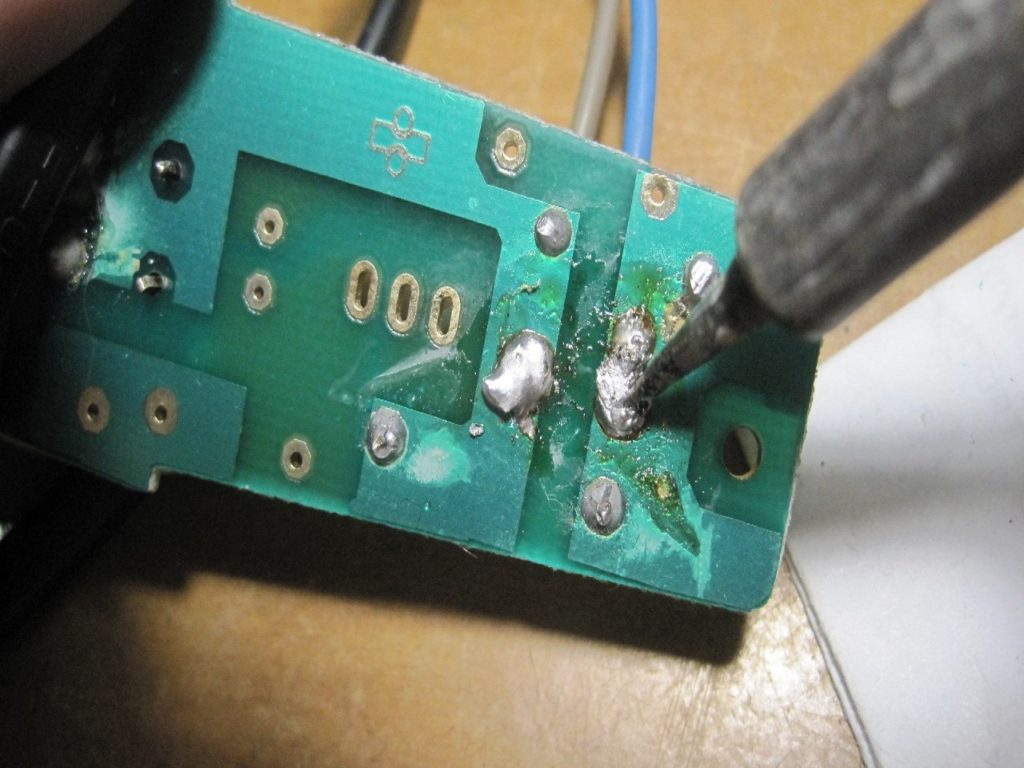
Next, it is important to find the cliff section and trim it. You can simply replace the cord.
The assembly of the apparatus is carried out in the reverse order. The procedure must be performed with special attention. Before work, be sure to disconnect the hairdryer from electrical power. This algorithm will help to achieve your goal.